User Guide
VENU is an app prototype I designed in Figma. The app lets you search for events, purchase tickets, and sell them later if you cannot attend. The guide is written in a shorter, task-focused register for a general mobile audience.
Try the Prototype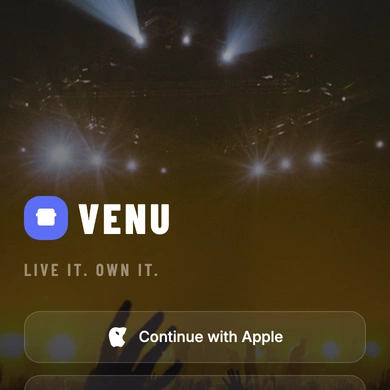
Navigate the App
Section titled “Navigate the App”The VENU app consists of the following screens:
- Search
- Your Events
- Resale
- Profile
Select the buttons at the bottom of the app to navigate between the Search, Your Events, and Resale screens. Select the profile icon at the top right of the app to access the Profile screen.
Search Screen
Section titled “Search Screen”The Search screen is the main screen of the app. At the top of the screen, a search bar lets you find events, artists, and venues by name. Below the search bar, your current location is displayed. Select the location to change it.
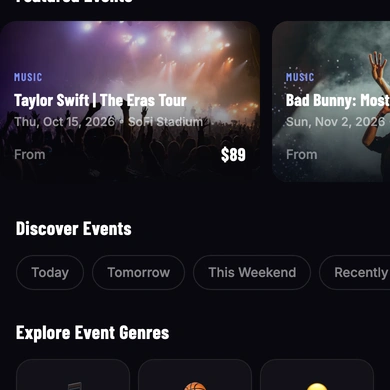
The Featured Events section displays a scrollable carousel of highlighted events in your area. The Discover Events section lets you filter events by when they happen — select Today, Tomorrow, This Weekend, or Recently Announced to narrow the list. The Explore Event Genres section lets you browse by category, including Music, Sports, Comedy, Theater, Arts, and Family. Below these sections, the All Events list displays all upcoming events in your area.
Your Events
Section titled “Your Events”The Your Events screen shows your tickets, organized into three tabs:
- Upcoming — events you have tickets for that have not yet happened
- Transferred — tickets you have sent to someone else
- Past — events that have already occurred
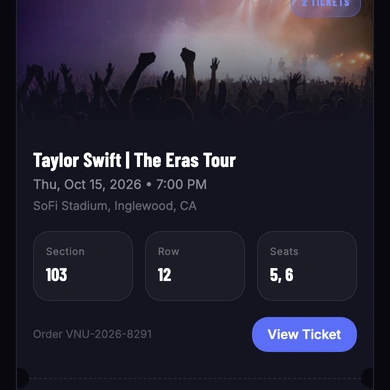
Each ticket card displays the event name, date, time, venue, and your seat details — including section, row, and seat numbers. Select View Ticket to open the ticket barcode, which you present at the venue entrance. If your tickets are not displaying, select Refresh.
Resale
Section titled “Resale”The Resale screen lets you sell tickets you can no longer use. The screen is organized into three tabs:
- Active Listings — tickets you currently have listed for sale
- Sold — tickets you have already sold
- Balance — your earnings from ticket sales
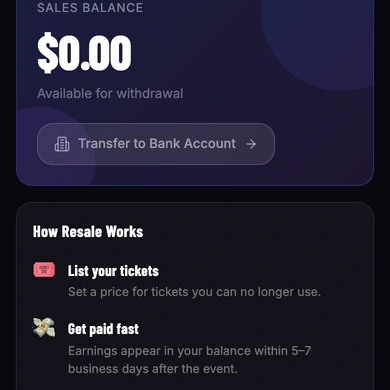
The Balance tab displays your available earnings and a Transfer to Bank Account button. The How Resale Works section explains the resale process: list your tickets, receive payment within 5–7 business days after the event, and withdraw your balance at any time.
Profile
Section titled “Profile”Select the profile icon at the top right of the app to open the Profile screen.
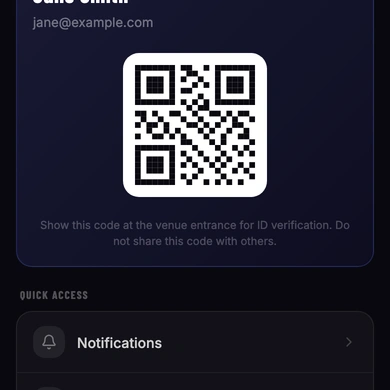
At the top of the screen, your VENU Mobile ID is displayed as a QR code. Show this code at the venue entrance for identity verification — do not share it with others.
The Quick Access section links to your Notifications and Order History. The Settings section lets you manage your location services, home location, account details, app appearance, cookie preferences, and notification settings. The Help & More section links to VENU Support, FAQs, Privacy Policy, and Terms of Use. Select Log Out at the bottom to sign out of the app.
Create an Account
Section titled “Create an Account”Complete the following steps to create a VENU account.
-
Enter Your Information
From the landing screen, select Continue with Apple or Continue with Facebook to register using an existing account. Otherwise, select Sign Up with Email to register with your email address.
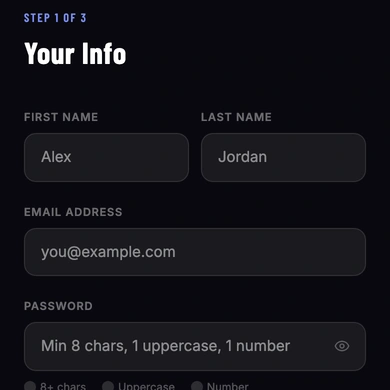
Enter your first name, last name, email address, and a password. The password must be at least 8 characters long and contain at least one uppercase letter and one number.
Select the checkbox to confirm that you may be required to show valid ID at venues and that you agree to VENU’s Terms of Use and Privacy Policy. Then select Create Account.
-
Verify Your Email
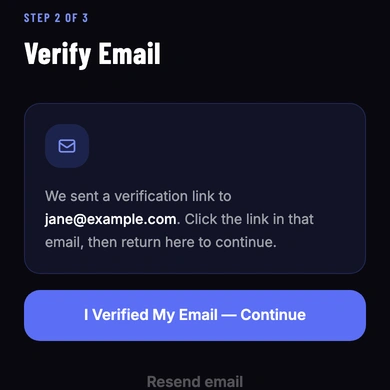
VENU sends a verification link to the email address you entered. Open your email inbox and select the link. After you have verified your email, return to the app and select I Verified My Email — Continue.
-
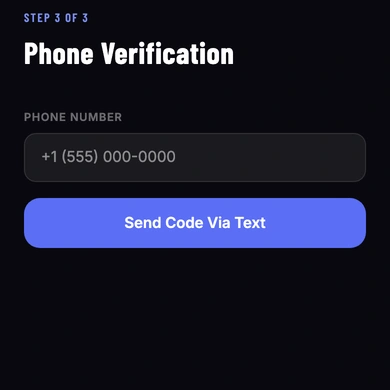
Verify Your Phone Number
Enter your phone number, then select Send Code Via Text.
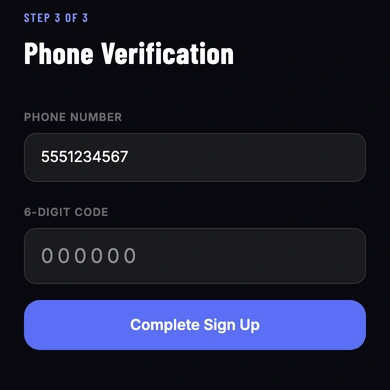
Enter the six-digit code sent to your phone number, then select Complete Sign Up.
Sign In
Section titled “Sign In”Complete the following steps to sign in to the app.
-
Enter Your Credentials
From the landing screen, select Already have an account? Log In. Enter your email address and password, then select Continue.
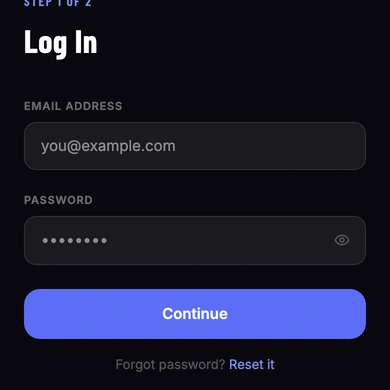
If you have forgotten your password, select Forgot password? Reset it.
-
Verify Your Account
Enter the six-digit verification code sent to the phone number on your account to complete sign-in.
Search for Events
Section titled “Search for Events”Complete the following steps to search for events.
-
Start Your Search
From the Search screen, select the search bar at the top of the screen. Enter an event name, artist, or venue. Results appear as you type.
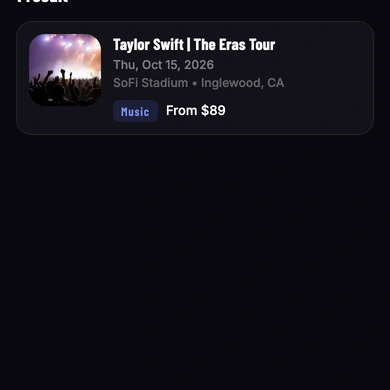
You can also browse events without searching. Use the Discover Events filters — Today, Tomorrow, This Weekend, or Recently Announced — to narrow events by date. Select a genre from Explore Event Genres to browse by category. See the Search Screen section for more information.
-
Select an Event
Select an event from the results or browse list to open its detail page. The event detail page displays the event name, date, time, venue, and available ticket options.
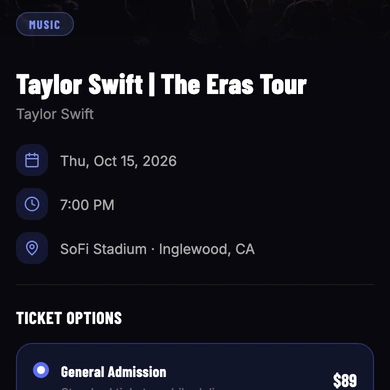
Two ticket types are available:
- Tickets — standard admission at face value price
- VENU Official Resale — verified fan-to-fan resale tickets, which may exceed face value
To purchase, select Buy Now and follow the steps in Buy Tickets.
Buy Tickets
Section titled “Buy Tickets”Complete the following steps to buy tickets.
-
Select Offer
After you search for an event and select Buy Now, the Select Offer screen opens.
Under Ticket Type, select Tickets to purchase at face value, or select VENU Official Resale to buy verified fan-to-fan resale tickets. Use the Quantity selector to choose how many tickets you want. Under Delivery Method, select Mobile to receive tickets in the VENU app, or select Print-at-Home to receive a PDF by email.
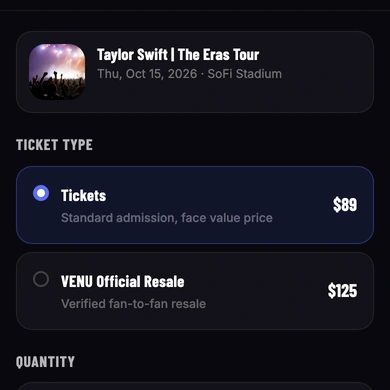
Select Continue.
-
Enter Payment Information
Enter your credit or debit card number, expiry date, CVV, and the name on the card. Optionally, select the checkbox to save this payment method for future purchases.
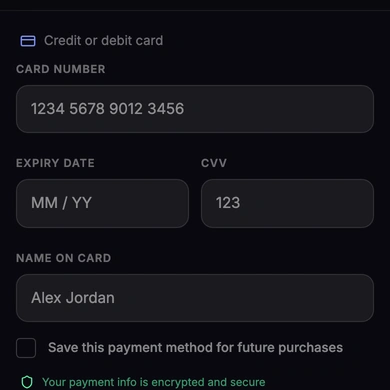
Select Continue.
-
Complete Purchase
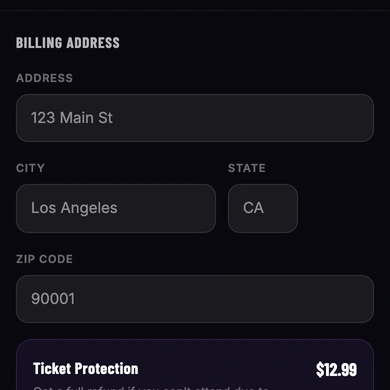
Enter your billing address. Optionally, select Add next to Ticket Protection to purchase coverage that provides a full refund if you cannot attend due to illness, injury, or other covered reasons.
Review the Order Summary, which lists your ticket quantities, prices, service fee, and total. If you agree to VENU’s Terms of Use and confirm the order details are correct, select the checkbox and then select Confirm Purchase.